The best thing about going to see Split Rock if you're in a big hurry
is that you can see it from your car at the trailhead parking lot!
To see it from all angles -- and the cave on the back side
-- you do have to get out and walk around it, but it's still quick.
After hiking the whole trail on Wednesday, I showed Jim just the Split
Rock at the trailhead the next day. We'd already hiked three other trails
that morning and didn't want to add this one.
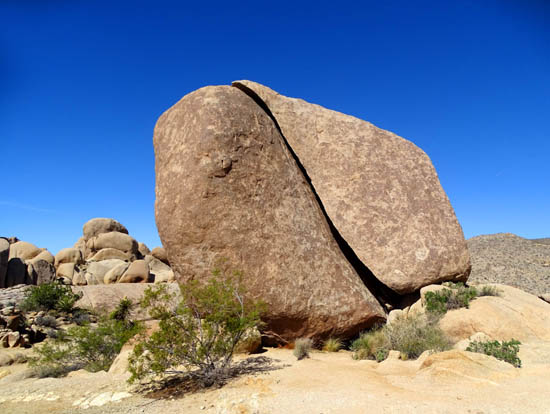
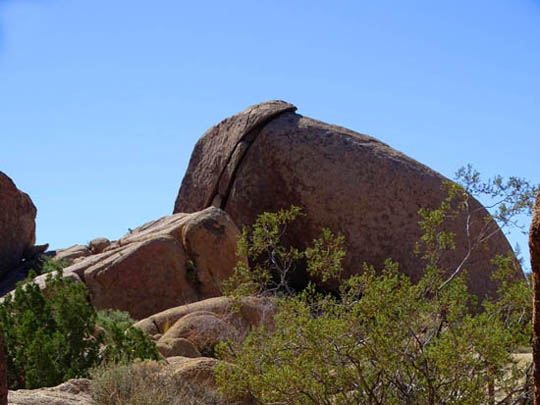
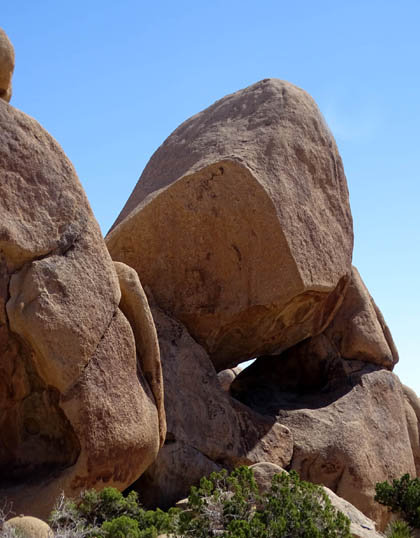
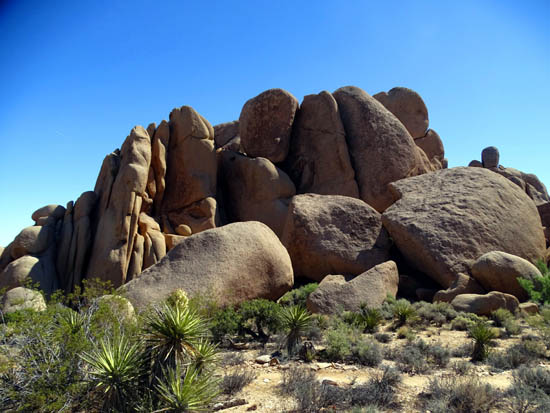
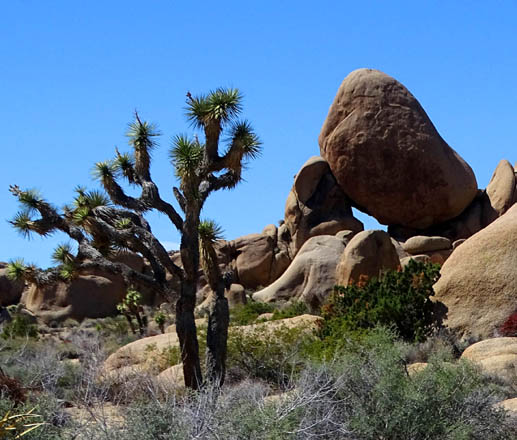
From the front (above), Split
Rock looks like it might topple over at any time.
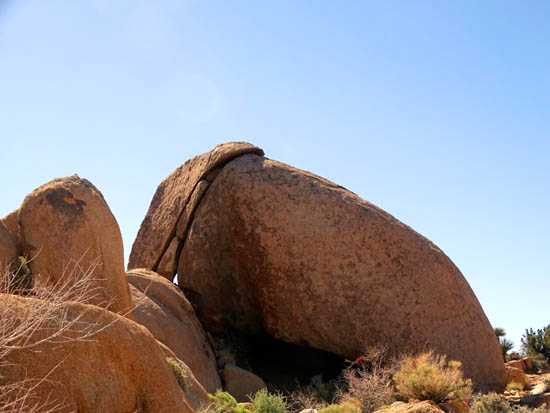
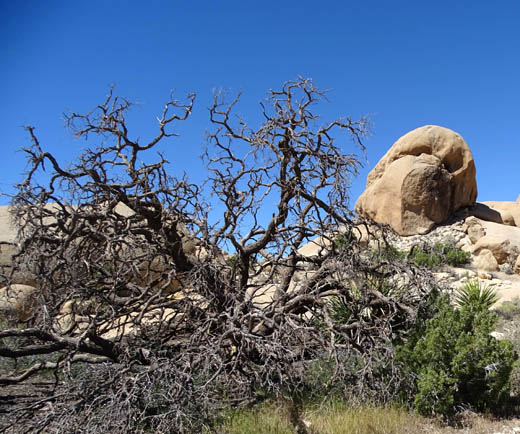
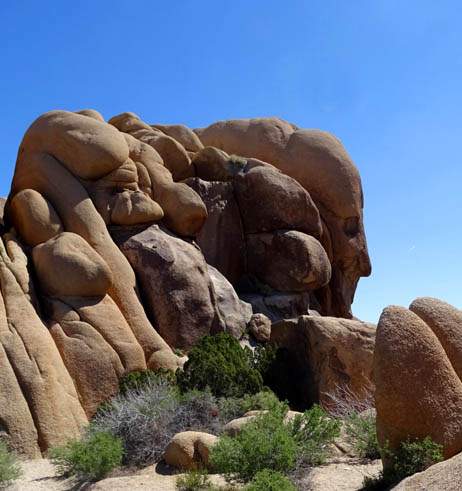
From the back, however, it appears
firmly anchored in place (below).
If you have 45 minutes to an hour (more if you like to take lots
of photos or inspect things), go ahead and hike this two+-mile loop.
There are a lot more "split" rocks with large and small cracks,
veins, caves, niches, windows, and little arches along the way.
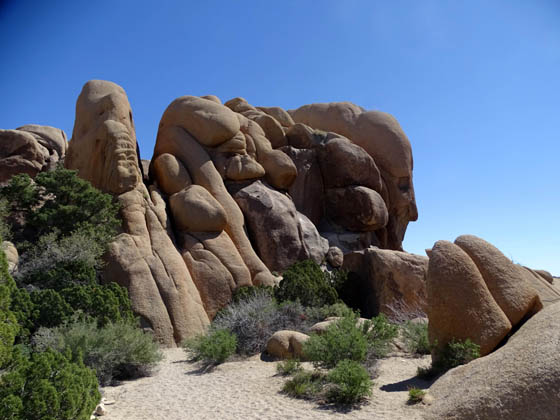
With a few additional minutes you can also do a short side trip to
see Face Rock:
OK, if you're only curious about what the two namesake rock
formations look like, that's the Executive Summary!
Continue scrolling down for a bunch more pictures and information
about this interesting trail.
AN IMAGINATIVE LOOP
This morning I hiked 2.79 miles here after doing the Skull
Rock loop and saw both the Split Rock and Face Rock formations. It was a bit ironic
to me that one of those three featured rocks is shaped like a
skull and one resembles the profile of a face!
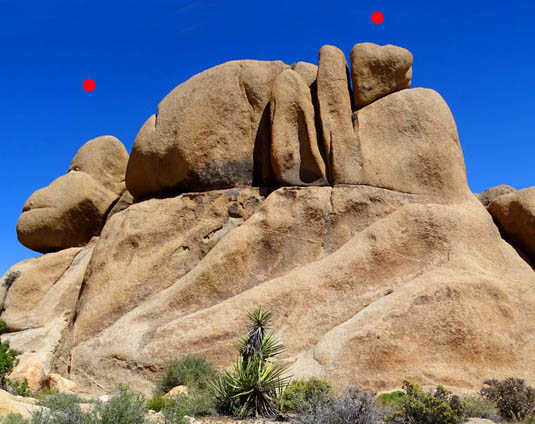
On the Split Rock loop I saw several other unusual rocks that
reminded me of a claw, a brain (!), a fish, a whale, a rhino, two
apes, two polar bears, and a bull dog!
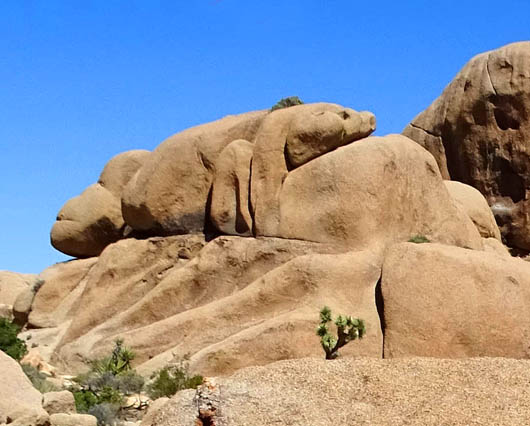
Polar bear hugging a rock;
there's an ape head behind him.
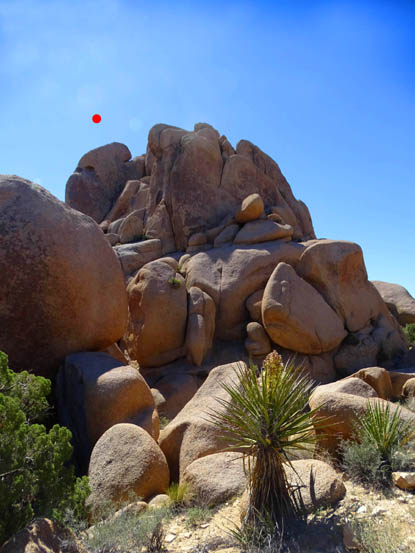
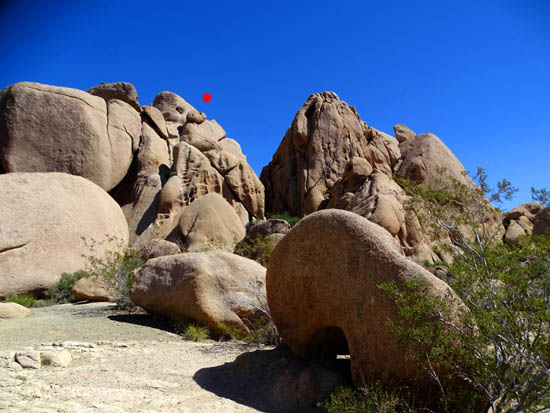
An ape -- or a bulldog (under the
dot)??
There's also a formation that looks like a tulip flower if you're
going clockwise on the trail but I only saw and photographed it from the side so I
didn't get the full effect.
Just use your imagination and see what other shapes you can find if
you hike this trail.
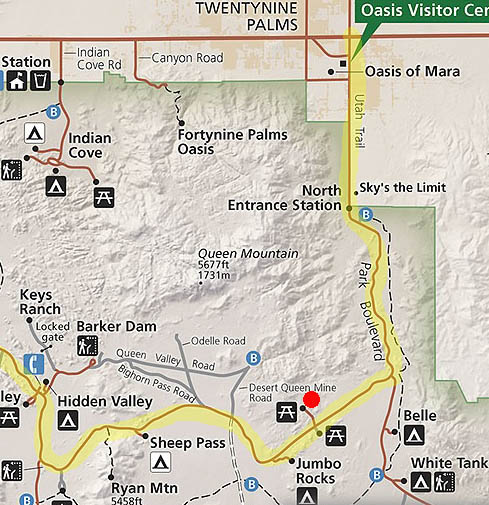
GETTING THERE
Split Rock and Skull Rock are close to each other. There is a
short paved road back to the Split Rock parking and picnic area
off Park Boulevard east of Skull Rock, which is not marked on the
park map below but is just "above" the Jumbo Rocks Campground.
I marked the Split Rock picnic area and trailhead with a red dot and
highlighted Park Boulevard in yellow:
Split Rock has a large enough parking area that I was able to find a spot
when I hiked the loop mid-morning on Wednesday. This is a relatively
popular place for people to stop since, like Skull Rock, the namesake
Split Rock is close at hand. Some folks just get out to inspect the rock
or enjoy lunch, then head on.
The trail loop is long enough that people who do spend an hour
or two here get spread out and it's not likely to feel crowded while
hiking except maybe on the weekend.
TRAIL DESCRIPTION
The Park Service rates this trail as "moderate,"
which is about right for the distance and elevation gain and loss
compared to other park trails.
My GPS recorded a total elevation
gain/loss of 770 feet and ranged in altitude from 4,188-4,318 feet over
2.79 miles. Here's my track, with the trailhead at the red dot
and Face Rock at the bottom with a purple dot:
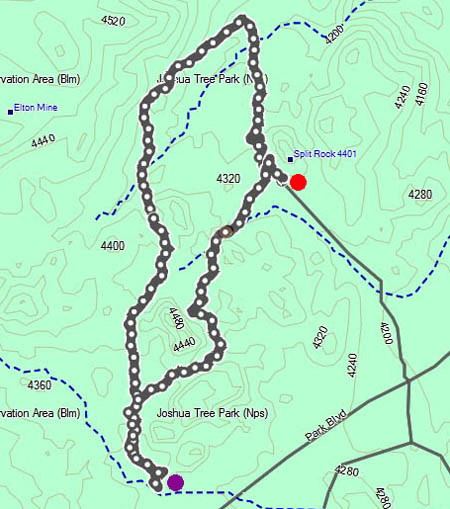
I went CCW around the two-mile loop.
It is about 1.25 miles to the spur trail to Face Rock if you go
that way. If you go CW you'll come to the Face Rock spur trail sooner
(3/4 mile). If time is short, go that way and
you'll still see lots of cool rock formations and Mojave Desert
vegetation.
Going CCW (north)
from the trailhead as I did, the trail
continuously climbs in and out of washes and small basins until you come
to the intersection with the short path to Face Rock, with very few flat or straight
stretches. After I came out of the wash at Face Rock, it was mostly uphill to the
parking area at Split Rock.
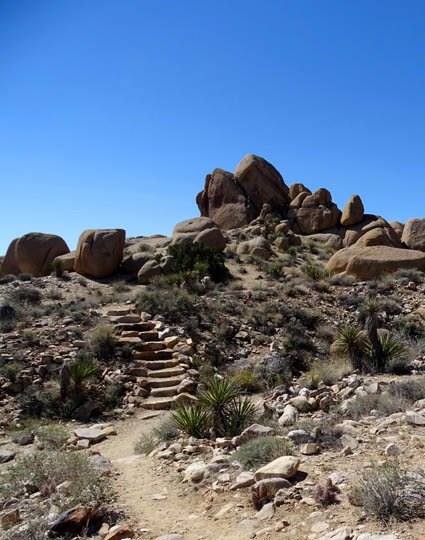
Most of the trail
is hard-packed sand but there are also rocks, rock steps, bedrock, and
soft sand to negotiate along the way:
You could spend a lot
of time playing in the rocks, too.
There are several official climbing areas along this route. Although I
didn't see anyone climbing when I was hiking, I can definitely see why it'd be a
fun place to scramble up and down the numerous boulder piles or use technical
equipment to climb the higher rock faces.
DOIN' THE LOOP
Here are more photos, generally in order CCW (starting northbound) around the loop
from the parking/picnic area and trailheads at Split Rock.
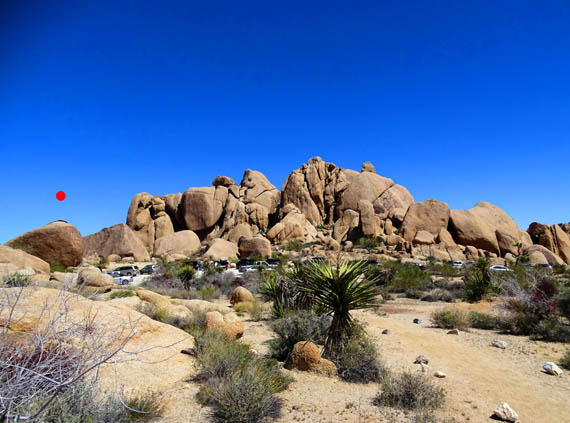
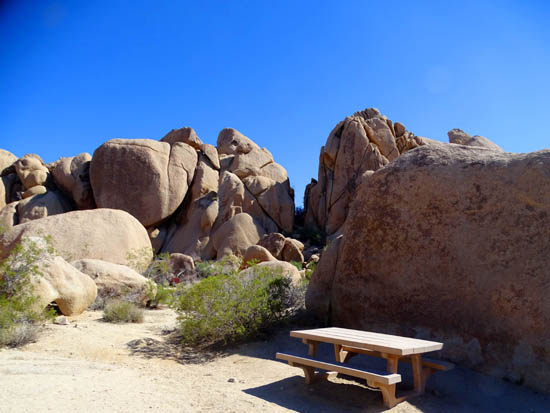
The next pictures shows the parking/picnic area from the trailhead where I
ended my hike. Hikers who want to go CW would start here.
Note that the parking area is pretty large.
Split Rock is under the red dot. I started just to the left of the rock
to go CCW:
Now let's zoom in on that pile of boulders on the far
side of the parking area.
See the rock under the red dot below? Looks
like another bear to me, or maybe a dog:
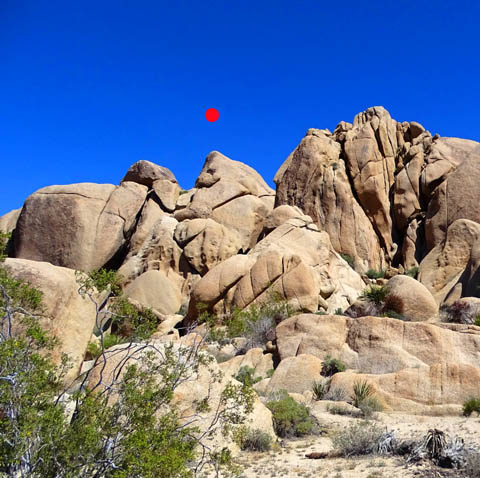
But if you look at it from another direction it looks more like a fish
or spiny reptile propped up by the rocks under it:
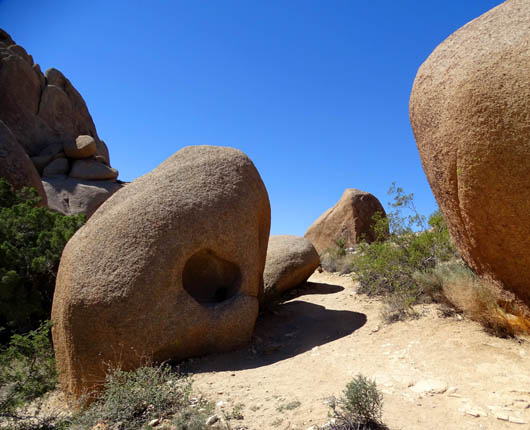
And that's a pretty cool rock (directly above) with a
"cave" in it. It's near one of several picnic tables in this area
:
OK, let's get to the hike. To go CCW, start just to the left of Split
Rock:

You can see the back side of it, and a cave underneath, from the
trail or by going slightly off-trail to explore:
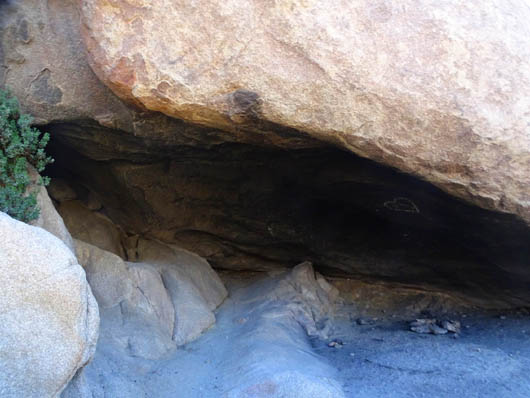
As usual, some idiot left
graffiti.
Looking back at the cave
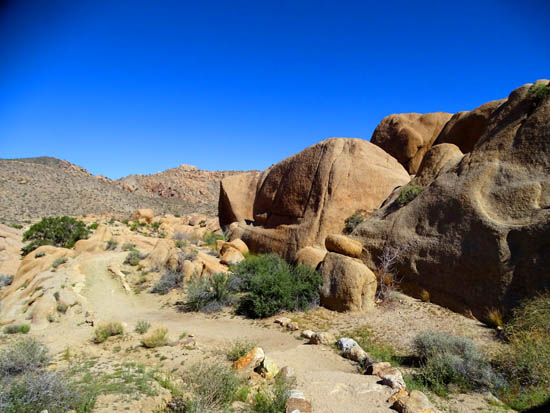
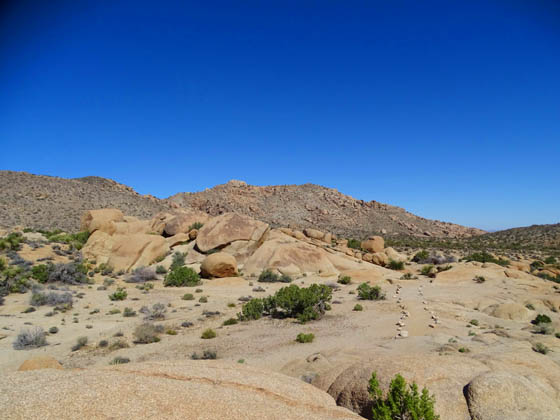
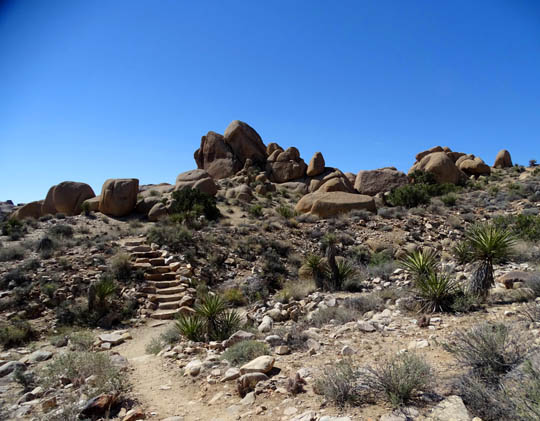
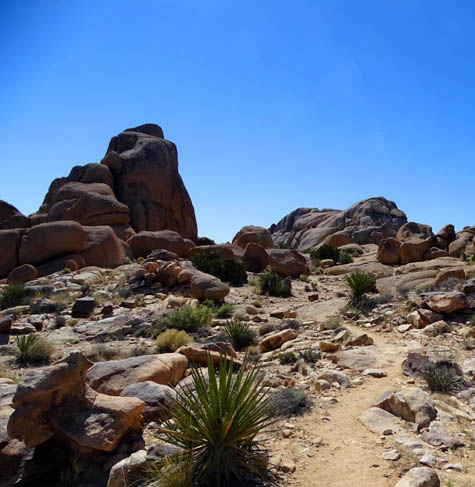
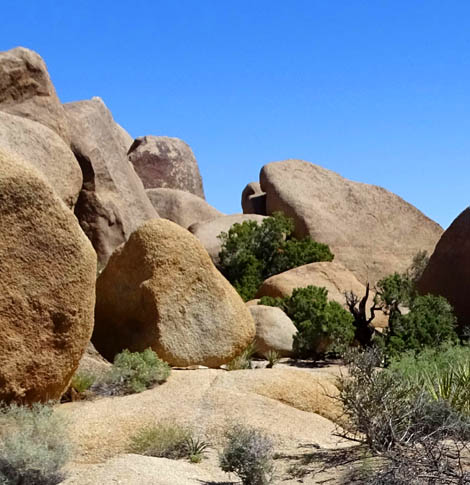
One of my favorite parts of the trail was the descent
from Split Rock to the first basin, past massive boulders and over
granite bedrock:

Some parts of the trail are marked with stones, as in
the next two photos:

Looking back up the hill
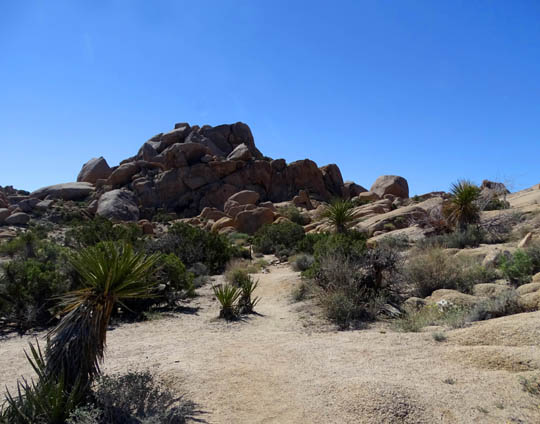
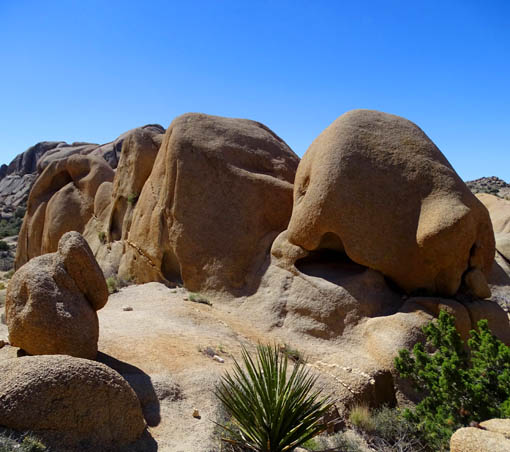
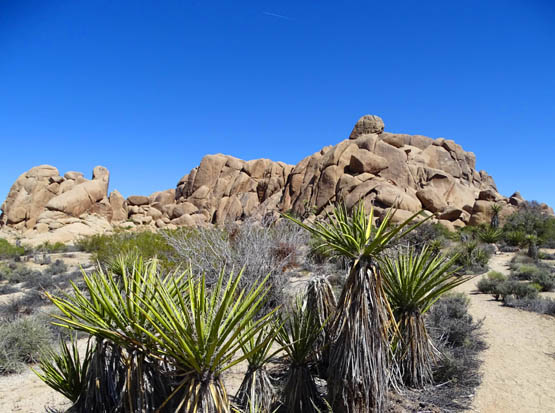
The trail undulates through the first basin and turns
toward the left at the "top" of the elongated loop,
briefly paralleling below a long ridge of rock:
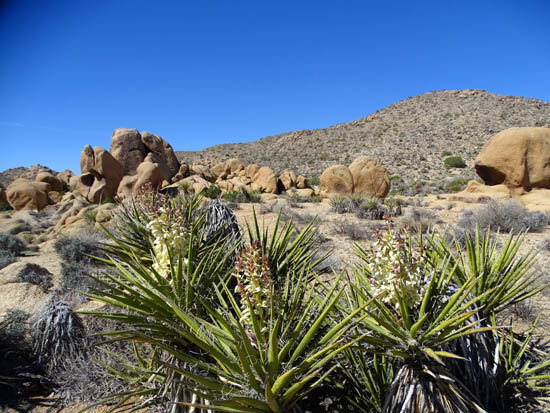
There are numerous Mojave yuccas, junipers, oaks, and
other shrubs in this area but I don't remember seeing any Joshua trees
on this loop until I got near the other trailhead at the end.
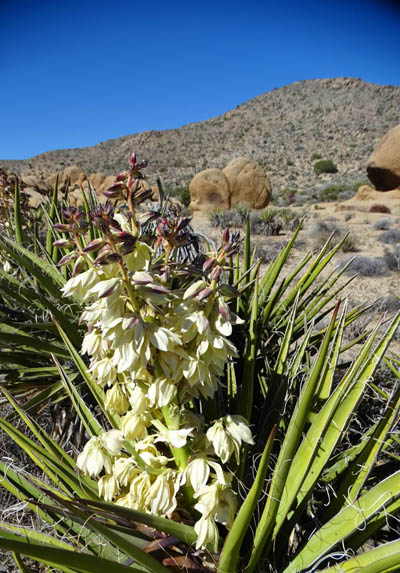
<
p align="left">Many of the yuccas were in bloom:
Is that an open-mouthed whale on
the right??
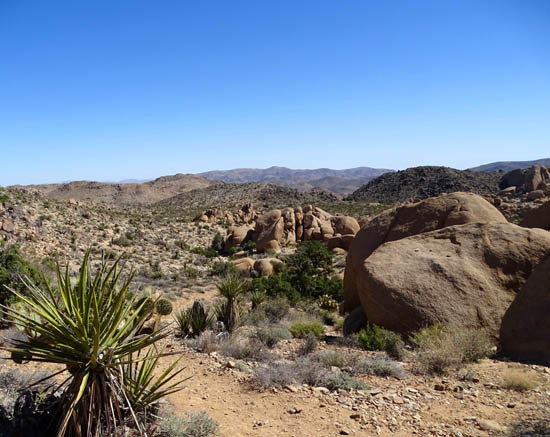
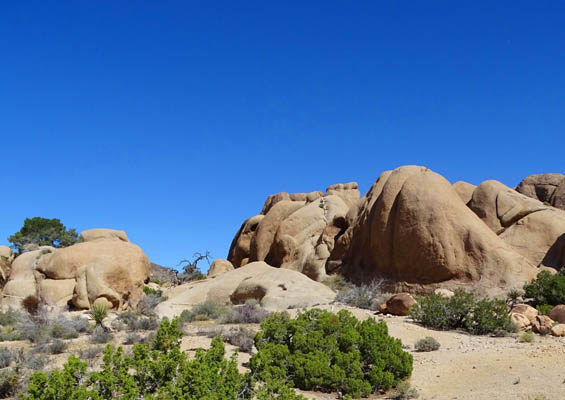
Up to a ridge, then down again, with a nice expansive
view from the top:
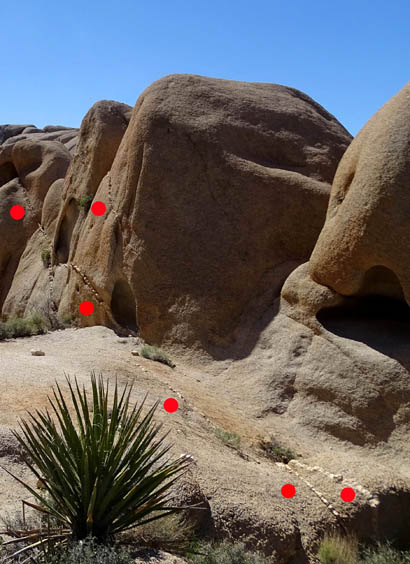
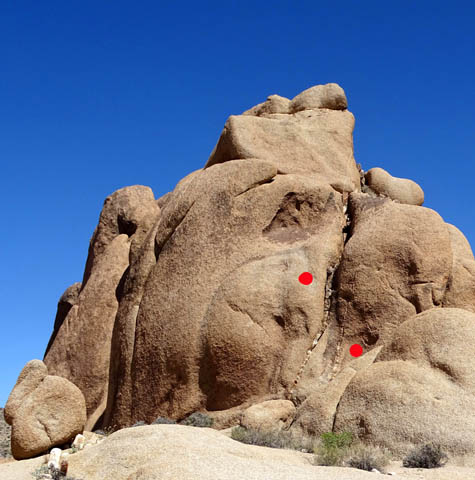
The trail passes many interesting boulder piles, large
and small. Many of the rocks have splits (cracks) in them. In the next
picture, I marked two boulders that are a little smaller than Split Rock
but both have about the same type of crack in them:
I also saw a lot of boulders and bedrock with "veins" in them.
The first I'd noticed that was along the Skull Rock loop that I hiked
right before this trail. Here are some examples I marked
from the western side of the Split Rock loop:
I wonder if the splits/cracks form when veins deteriorate or if they
develop in some other way . . .
Here are more photos going CCW on this side of the loop as it
roller-coasters toward the intersection with the spur trail to Face Rock:
Another cool niche or mini-cave like the one in
the picnic/parking area; reminds me of a pizza
oven!
One of several "windows" I noticed
Sleeping head of a yellow
Labrador retriever?? (Guess who has one of those!)
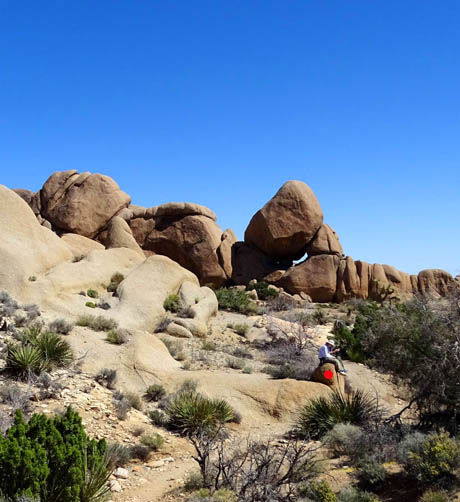
Two people (above red dot) sit on a rock by the trail;
note another "window" in the boulders above them.
What surprised me most about niches in the
boulders was that people hadn't put
smaller decorative rocks in them like they did in the desert
in southwestern Arizona.
Lots of rocks stacked
horizontally
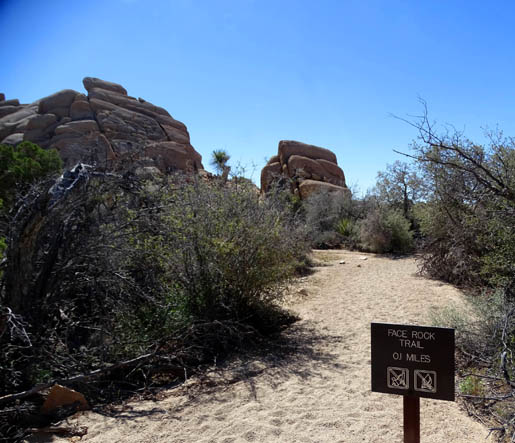
SPUR TRAIL TO FACE ROCK
Where the trail turns northeast (if you're going CCW) after about 1.25
miles, there is a spur trail through a soft sandy wash that is
marked with a sign for Face Rock.
It's only about 2/10ths of a mile
to the base of Face Rock, past more tall boulder jumbles:
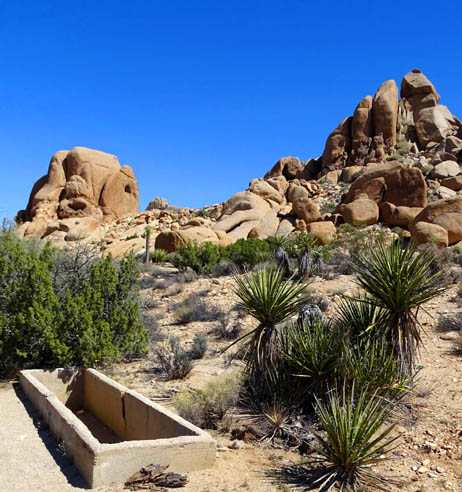
The trail goes by this old cement water
trough

See the face profile in the
distance?
The wash keeps going south but since the face profile was my
destination in that direction, I turned around and went back to the main
loop trail and
continued northeast toward the parking area.
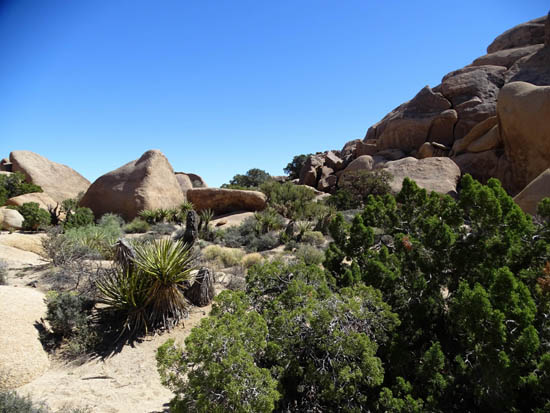
THE REMAINDER OF THE LOOP GOING CCW
Once back to the main trail it was another 3/4 mile, mostly
gradually uphill, to the parking area.
This was my second-favorite part of the loop because of all the interesting
boulder piles and more vegetation than most other places along the trail,
almost like a giant rock "garden" in some places.
The "lobed" rock on top of the boulders to
the right is called Brain Rock on some hikers' websites.
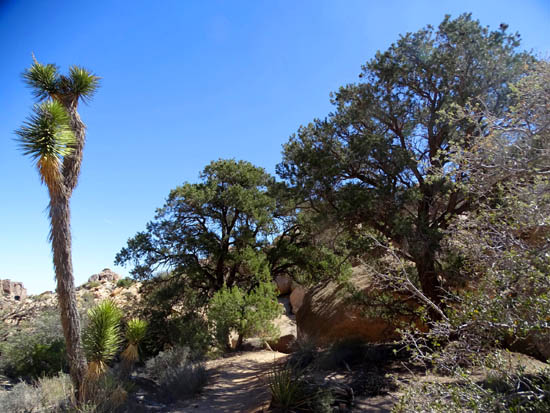
This is about the only shady
spot on the whole loop.
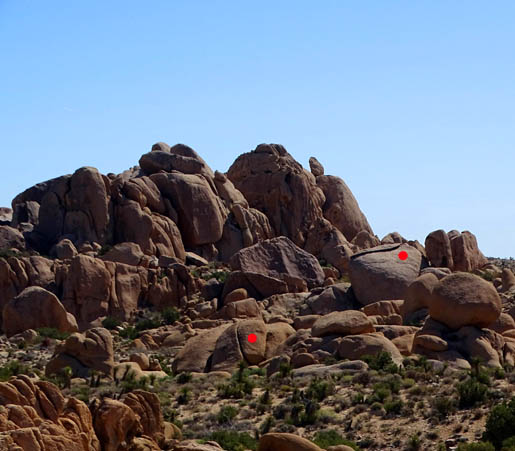
Here's another shot of one of my "polar
bears" (head under R. dot) and from this angle,
it looks even more like an ape head (L. dot) behind him,
looking the other direction.
Joshua trees are almost as scarce as shade on this loop. The ones
in the next picture are near the parking area:
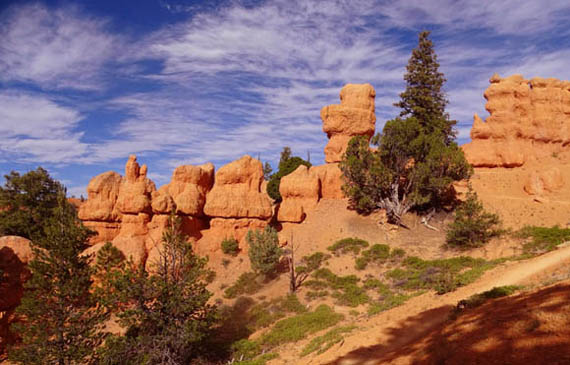
Note the "window" in the rock pile above; it's fun to get
close to those and use them as frames for pictures on the other
side. I did that several times at Bryce Canyon National Park.
ARE WE HAVING FUN YET?
If you're a kid or a kid at heart, you'll probably enjoy this
loop because of all the cool rock figures, formations, and places to scramble
on the boulders. It's a good hiking and running trail, too.
I didn't linger when I
got back to my car. I had a third hike on my list in the
afternoon -- to a true oasis in the desert, no less.
Next entry: hiking to 49 Palms Oasis
Happy trails,
Sue
"Runtrails & Company" - Sue Norwood, Jim O'Neil,
Cody the ultra Lab, and Casey-pup
Previous
Next
© 2016 Sue Norwood and Jim O'Neil